
How to modify the light sensor program
When you want to modify the light sensor program, first look for the main parts of code. These parts control sensor input and output. Check how your hardware connects. This is important if you use a Temperature Sensor or a Rheostat. Microcontrollers read light data and compare it to set points. This helps control bulbs and shading. Before you make changes, think about your goals. Decide where you need features like dimming or daylight response. Many people forget about dimming, and some skip layered lighting, so plan ahead. If you do a Bulk purchase test, make sure your setup works with all parts.
Key Takeaways
First, set up your hardware the right way. Get all the parts you need and make sure they connect well. This helps stop mistakes from happening.
Write out sensor variables in your code so they are clear. This makes your code easy to read and change later.
Change if-else statements to control what your program does when light changes. This lets your program react in different ways to sensor readings.
Set the sensor threshold to match your room or area. This helps your program work well with different lights.
Try your changes in many lighting situations. This checks if your sensor works right and helps you find problems.
Connect the Light Sensor
Getting your light sensor connected is the first step before you modify the light sensor program. You need to set up the hardware right so your code works smoothly. Here’s a simple checklist to help you get started:
Gather your parts: You’ll need an Arduino board, a BH1750 breakout, solderless jumper wires, a CD4050 Hex Buffer IC or resistors, and a breadboard.
Connect the BH1750 breakout to the Arduino. Make sure the input voltage stays below 3.6V.
Use the CD4050 Hex Buffer if you need to convert logic levels.
Download the BH1750 library in your Arduino IDE.
Write and upload your code to read light intensity values.
Tip: Double-check your wiring before you power up. Mixing up signal and power wires can mess up your readings. Poor grounding or using long cables can cause weird signals. If you reverse the cable connections, you might damage your sensor. In noisy areas, shield your cables to avoid false readings. Always secure your cables so they don’t break or lose connection. Don’t connect too many sensors to one power supply, or you could see failures.
Declare Sensor Variables
Once your hardware is set up, you need to tell your program where to find the sensor. Declaring sensor variables makes your code easier to read and change later. You usually set a global variable for the sensor’s I/O pin at the top of your code. Here’s a quick example:
// Declare the light sensor pin
const int lightSensorPin = A0;
This line tells your microcontroller which pin to use for the light sensor. If you want to modify the light sensor logic, you’ll come back to this variable often. You can change the pin number if you move the sensor or add more sensors. Keeping your variables clear helps you avoid mistakes and makes your code easier to update.
Note: Use simple names for your variables. This makes your code easier to understand and debug later.
Modify the Light Sensor Logic
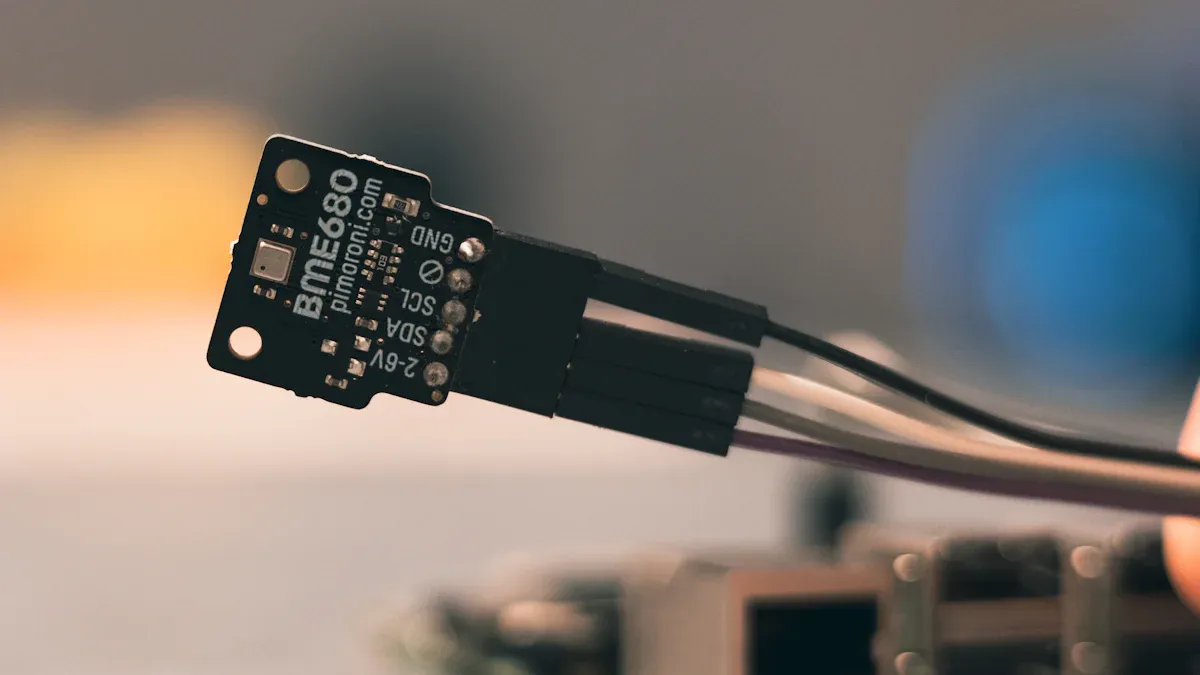
Image Source: unsplash
When you want to modify the light sensor, you need to focus on the logic that controls how your program reacts to changes in light. This is where you decide what happens when the sensor detects more or less light. Let’s break down the two main ways you can change this logic: adjusting the if-else statements and changing the sensor thresholds.
Adjust If-Else Statements
If-else statements are the heart of your light sensor program. They tell your microcontroller what to do when the sensor reads a certain value. Maybe you want the LED to turn on when it gets dark, or maybe you want it to turn off instead. You can modify the light sensor logic by flipping these statements.
Here’s a simple example. Let’s say your original code looks like this:
if (sensorValue > threshold) {
  digitalWrite(ledPin, HIGH); // Turn LED on
} else {
  digitalWrite(ledPin, LOW);  // Turn LED off
}
If you want to reverse the behavior, just flip the HIGH and LOW:
if (sensorValue > threshold) {
  digitalWrite(ledPin, LOW);  // Turn LED off
} else {
  digitalWrite(ledPin, HIGH); // Turn LED on
}
You can also make your logic more flexible by using logical operators or else if statements. Here are some tips to keep your code clean and easy to understand:
Place braces on separate lines to make your code easier to read.
Use logical operators like &&, ||, and ! to combine conditions.
Try else if for handling more than two conditions.
For multiple options, switch-case can make your code neater.
For example, if you want the LED to turn on only when it’s dark and a button is pressed:
if ((sensorValue < threshold) && (buttonState == HIGH)) {
  digitalWrite(ledPin, HIGH);
}
Tip: Always double-check your conditions. Incorrect conditional statements can cause your program to behave in unexpected ways. If your LED is not responding as you expect, look for typos or logic errors in your if-else blocks.
Change Sensor Thresholds
The threshold is the value that decides when your program takes action. If you want to modify the light sensor to react at different light levels, you need to change this number. For example, if your room is brighter than before, you might want to raise the threshold so the LED only turns on when it’s really dark.
You can set the threshold like this:
int threshold = 500; // Change this value to set when the LED turns on or off
You can also think about comfort. For most people, a luminance threshold between 2000 cd/m² and 2800 cd/m² feels comfortable. If you go above 2740 cd/m², some people might find the light too bright. If you want your program to react to discomfort, set your threshold higher.
Luminance threshold for comfort: 2420 cd/m²
Typical comfort range: 2000 cd/m² to 2800 cd/m²
Discomfort starts above: 2740 cd/m²
Note: If your sensor reacts too quickly or too slowly, try changing the threshold value by small amounts. Test each change to see how it feels in your space.
When you modify the light sensor, always test your new logic. Try different light levels and see how your program responds. If something doesn’t work, check your if-else statements and threshold values first. These are the most common places where mistakes happen.
By following these steps, you can modify the light sensor to fit your needs. You can make your lights smarter, save energy, or just have fun experimenting!
Add Features
Automation and Output
You can make your light sensor program smarter by adding automation. These upgrades help your system react to light changes by itself. Many people add adjustable sensitivity for different rooms. You can set timers to turn lights on or off at certain times. Programmable actions let you pick what happens when the light changes. Smart home integration is popular, too. You can control your lights from your phone or with voice commands.
Here’s a table showing some popular automation features:
Want to make your home safer? You can change the light sensor to work with motion-activated lighting. This helps keep your home safe and saves energy. Advanced algorithms can also help your system react to quick light changes.
Tip: Try one feature first. Test it before you add more. This makes your program easier to handle.
Notifications or Logging
Notifications and logging help you know what your sensor is doing. You can set up alerts when the light goes above or below a certain level. Some systems send notifications by SMS, email, or even phone calls. You can store sensor data in the cloud for easy access and safety.
You can use Arduino or Raspberry Pi to measure light and send alerts. Cheap photo-resistors make it easy to collect data. Logging helps you track changes and find problems fast.
Note: Always test your notifications. Make sure you get alerts when you expect them.
If you want to change the light sensor program, adding these features will make your system more useful and fun.
Test and Troubleshoot
Test Your Changes
You finished editing your light sensor program. Now, you need to test if everything works. Start by checking your sensor in a room with no artificial lights. Use only a battery-powered flashlight to see how the sensor reacts. This helps you avoid flicker problems from regular bulbs.
Try these steps:
1、Place your sensor where you want it to work.
2、Set your sampling rate to 1000 points per second for 0.1 second. Watch how the light intensity changes.
3、Change the sample rate to a number like 17, 23, or 27 samples per second. This avoids flicker from lights that run at 60 Hz.
You can use tools like the CS5 Electrical Trouble Shooting Kit or a VS4000 Voltage Detector. These help you check your wiring and make sure your sensor gets the right voltage. Fluke Electrical Testers also work well for checking circuits and outlets.
Tip: Always test your sensor in different lighting conditions. Try bright sunlight, dim rooms, and sudden changes. This helps you spot problems early.
Debug Common Issues
Sometimes, your sensor acts weird. You might see random readings, bias, drift, or noise. These problems can come from the environment, your system, or even communication errors. Missing values often mean something failed.
Here are common error types:
Random or malfunction readings、Bias in sensor output、Drift over time、Noise in the signal
If you want to test your wiring, use a GF1302 3-Wire Tester. It shows if your outlets are wired right. For wireless sensor nodes, some systems use visible light communication to repair lost connections.
Note: Always look for patterns in your errors. If you see the same problem again and again, group those bugs and fix them together. This saves you time and keeps your sensor running smoothly.
You can modify your light sensor program by following these key steps:
1、Set up your hardware with the right pin assignments.
2、Use sample code to get started, then adjust pins as needed.
3、Change the threshold value to fit your room’s lighting.
Try new features and experiment with different logic.
1、What you do with your sensor can boost performance and unlock cool uses.
2、Always test your setup. Check voltage and wiring to catch problems early.
3、Regular checks help your lights last longer and stay safe.
FAQ
How do I know if my light sensor is working?
You can check your sensor by watching the readings change when you shine a flashlight on it. If the numbers go up or down, your sensor works. If nothing changes, check your wiring and code.
Can I use more than one light sensor in my project?
Yes, you can! Just connect each sensor to a different pin. Make sure you declare a variable for each sensor in your code. This way, you can read values from all of them.
What should I do if my sensor gives random values?
First, check your wiring. Loose wires cause problems. Try moving your sensor away from strong lights or electronics. You can also add a small delay in your code to help smooth out the readings.
How can I make my program send me a notification?
You can use a Wi-Fi board like the ESP8266. Add code to send an email or message when the light level changes. Many online tutorials show you how to set up notifications with Arduino and similar boards.