
How to Replace LR44 Battery Safely - Quick DIY Fix
That little watch that stopped? The digital thermometer giving a blank stare? Or maybe your kid’s favorite toy suddenly went silent? Chances are the tiny powerhouse inside – probably an LR44 battery – has run out of juice. Don't worry! Replacing an LR44 battery is usually very simple and quick. This guide will walk you through everything you need to know to do it safely and correctly, getting your device back in action fast.
Why "LR44 Battery Replacement" is So Important
You might think, "It's just a tiny battery, how hard can it be?" But putting in the wrong type of battery or doing it the wrong way can cause problems. Your device might not work if the new battery is not the right size or power. If you insert it upside down, you can harm the electronics. Cheap or fake LR44 batteries may drain quickly and leak, ruining your device.
Small batteries can be dangerous if swallowed, especially by children. Getting the LR44 battery replacement done properly avoids all these troubles and saves you time and money.
What Exactly is an LR44 Battery?
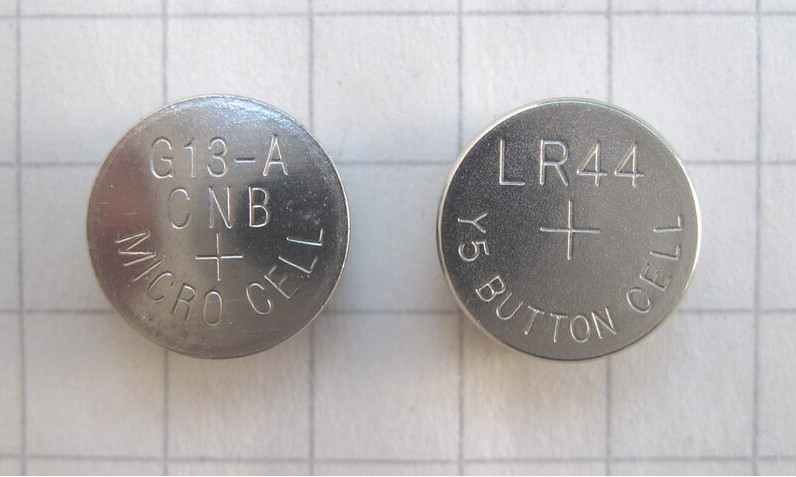
The LR44 is a common small round silver cell that provides 1.5 volts of power. You will find it in watches, small calculators, digital thermometers, laser pointers, key fobs, toys and games, hearing aids, small LED lights, kitchen scales, and medical devices such as glucose monitors.
It is also known by names like AG13, A76, 357, SR44, 357A, L1154, or V13GA. These names all refer to the same size and power, but you should always check your device's instructions first.
Step 1: Getting the Old Battery Out
First, locate the battery cover on the back of your device. It might have a tiny screw; if so, use a very small screwdriver and turn counterclockwise to loosen it. It might be a sliding cover; press along the arrow and slide it gently, possibly using a coin or butter knife edge.
It might snap on; in that case use a flat-head screwdriver or your fingernail to pry it open slowly. Once the cover is off you will see the old battery in its holder. If the battery looks swollen, crusty, or has leaked white or green powder, wear gloves and clean the holder with a cotton swab dipped in vinegar or lemon juice, then dry it well and wash your hands.
To remove the battery, push it out from the side with a plastic tool, toothpick, or pencil eraser. Avoid metal tweezers or screwdrivers on the terminals to prevent a short circuit; if you must use tweezers, touch only the edge.
Step 2: Choosing the RIGHT New LR44 Battery
Not all LR44 cells are the same. Look for trusted brands such as Duracell, Energizer, Panasonic, Sony, Maxell, or Renata. Check the package for the LR44 label, the 1.5V mark, and a "Best Before" date well in the future. Avoid super cheap deals that may hide fake or low-quality batteries. You can buy LR44 cells at supermarkets, drugstores, hardware stores, electronics shops, office supply stores, or online retailers like Amazon.
Step 3: Putting in the New Battery
Before inserting the new cell, inspect the metal contacts to make sure they are clean and shiny; wipe gently with a dry cotton swab or soft cloth. You will see + and – markings inside the holder. The flat side of the battery is positive (+) and often has writing on it; the rounded side is negative (–) and is smooth. Match the flat side to the + mark and the rounded side to the – mark.
Press the battery into place under the clip or spring. Then replace the cover, tightening any screw gently or sliding/snapping the cover until it locks without forcing it.
Important Safety Tip: Keep Away from Kids!
LR44 batteries are small and shiny; young children might mistake them for candy and swallow them. Store all cells out of reach. If you suspect a child has swallowed a battery, go to the emergency room immediately or call emergency services without delay.

Getting Rid of the Old Battery
Do not toss used button cells in the garbage. These batteries contain materials that should not enter landfills. Instead, cover both ends with clear tape to prevent shorting, then bring them to a battery recycling bin, often found at stores that sell batteries or at municipal hazardous waste sites. Check your local government website for collection dates or drop-off locations.
What If It Still Doesn't Work After Replacement?
If the device still does not power on, first verify the battery’s orientation. Remove and reinsert the cell, ensuring the flat (+) side touches the + contact. Clean the contacts again with a swab dipped in isopropyl alcohol and let dry. Try another new LR44 if available.
Inspect the battery for dents or scratches and the device for loose wires or damage. Confirm there is no hidden on/off switch or reset function. If these steps fail, the device may have a different fault and might need professional repair.
Why Doing a Good LR44 Battery Replacement Matters
Taking a few extra minutes to replace the LR44 battery correctly can save you from buying a new device, save time on troubleshooting, reduce electronic waste, and protect your family from hazards. Doing it right means peace of mind and fewer headaches down the road.
You Can Do It!
Replacing an LR44 cell is a small task with big benefits. Follow these steps carefully, keep safety in mind, and watch your device spring back to life. It’s easier than you think!